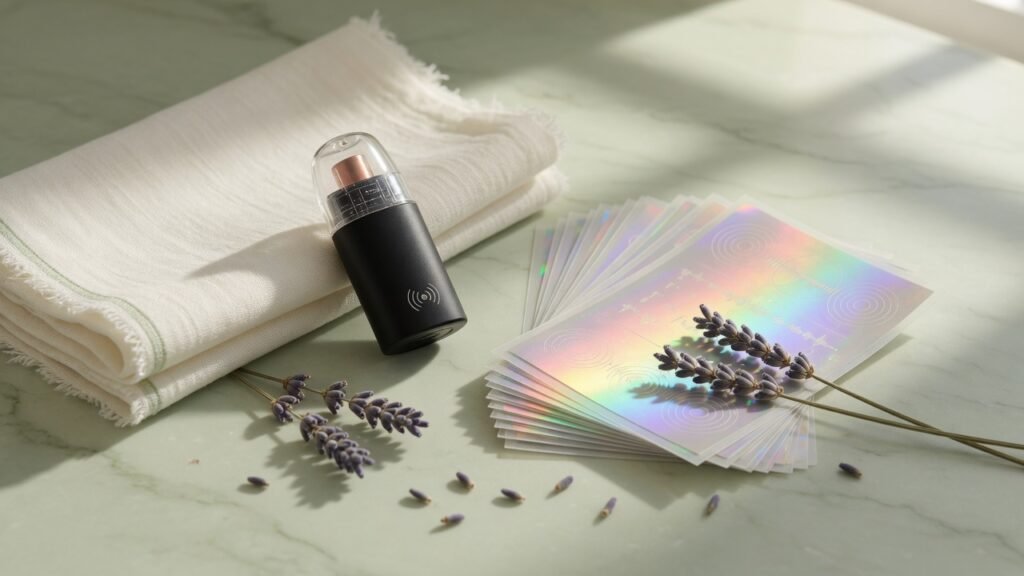
If you use Spooky2 remote technology, frequency imprinting is one of the most practical ways to take selected programmes with you — without staying next to a generator all day. Imprinting transfers frequency information onto physical carriers such as water, oils, or holographic stickers. Wearable stickers are especially popular because they are small, discreet, and easy to refresh when you want a new programme set.
This guide is a clear, practitioner-friendly rewrite of the fast imprint method used with a Spooky2 Remote. It walks through hardware setup, software choices that speed the process, how many frequencies to load, and how to store stickers so they stay useful. The language below is educational and complementary — it does not diagnose, treat, or cure medical conditions.
What frequency imprinting actually is
In Spooky2 terms, imprinting means using a remote sample well (and supporting hardware such as a Boost and generator) to “write” a chosen set of frequencies into a carrier material. Holographic stickers are designed for this kind of work: once imprinted, many people wear them on clothing or keep them close during the day.
There is an important difference between running a programme on a generator and wearing an imprinted sticker:
- Generator / remote sample sessions typically step through frequencies in sequence over time.
- Imprinted stickers are generally understood in the Spooky2 community as holding the loaded set so those frequencies can be available together, rather than only one at a time in a long sequential run.
That is one reason imprinting is often preferred for denser programme lists (including certain research-oriented sets such as RRM / RRMD style collections), where a sequential dwell on every line would take a very long time at the generator.
Why use the “fast imprint” approach?
A full imprint does not have to be complicated. The streamlined method below focuses on:
- Clean hardware chain (generator → Boost → Remote)
- Clearing the sticker first so you start from a blank carrier
- Sensible software options (loop behaviour, duplicate removal, optional shorter dwell)
- Completing at least one full cycle of everything you loaded
- Removing the sticker before you stop the generator
Done carefully, you can produce a sticker you can wear while travelling, working, or between clinic-style sessions — as a complementary support tool, not as a substitute for professional medical care.
What you need before you start
- Spooky2 generator (for example XM or GeneratorX series)
- Spooky2 Boost (BN port used for the remote chain)
- Spooky2 Remote (sample / imprint well)
- Computer with current Spooky2 software
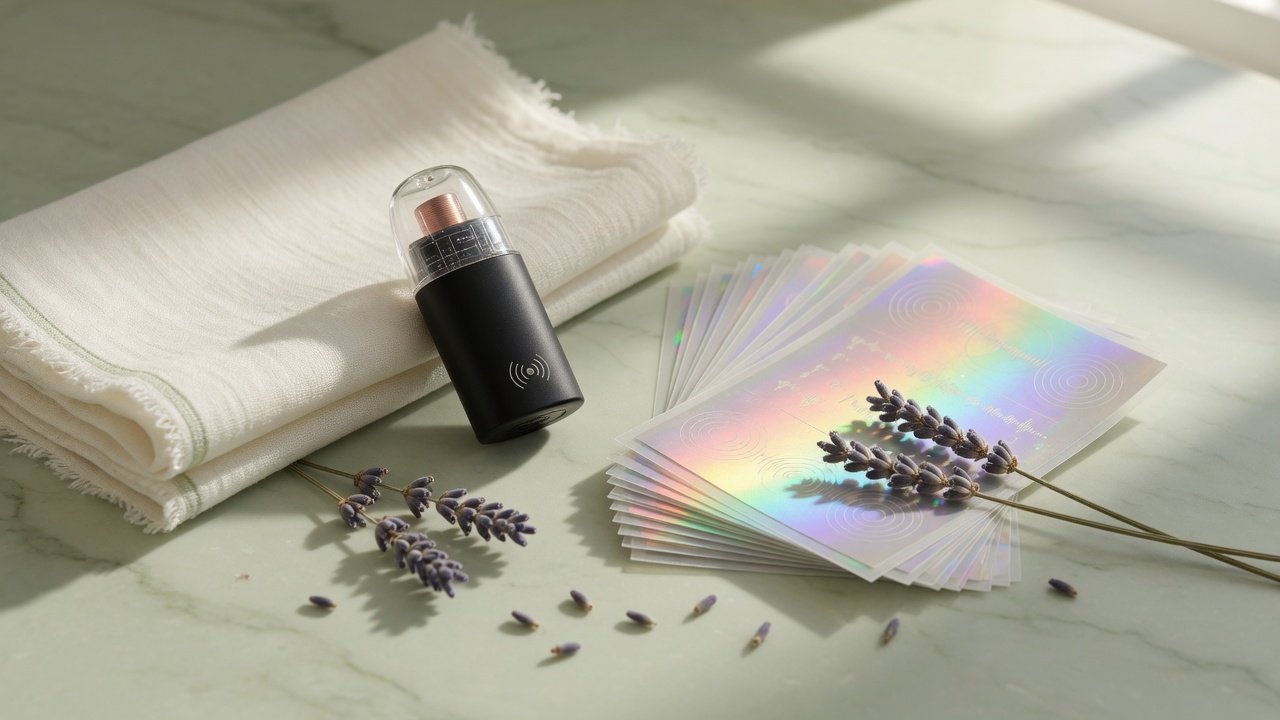
- Blank holographic stickers (or stickers you intend to clear and reuse)
- A strong magnet for wiping previous imprint information
Optional but helpful: spare stickers so you can separate “support / healing-style” programmes from more aggressive “kill-style” collections, notes for what each sticker contains, and foil or a pouch for storage.
Step 1 — Hardware preparation
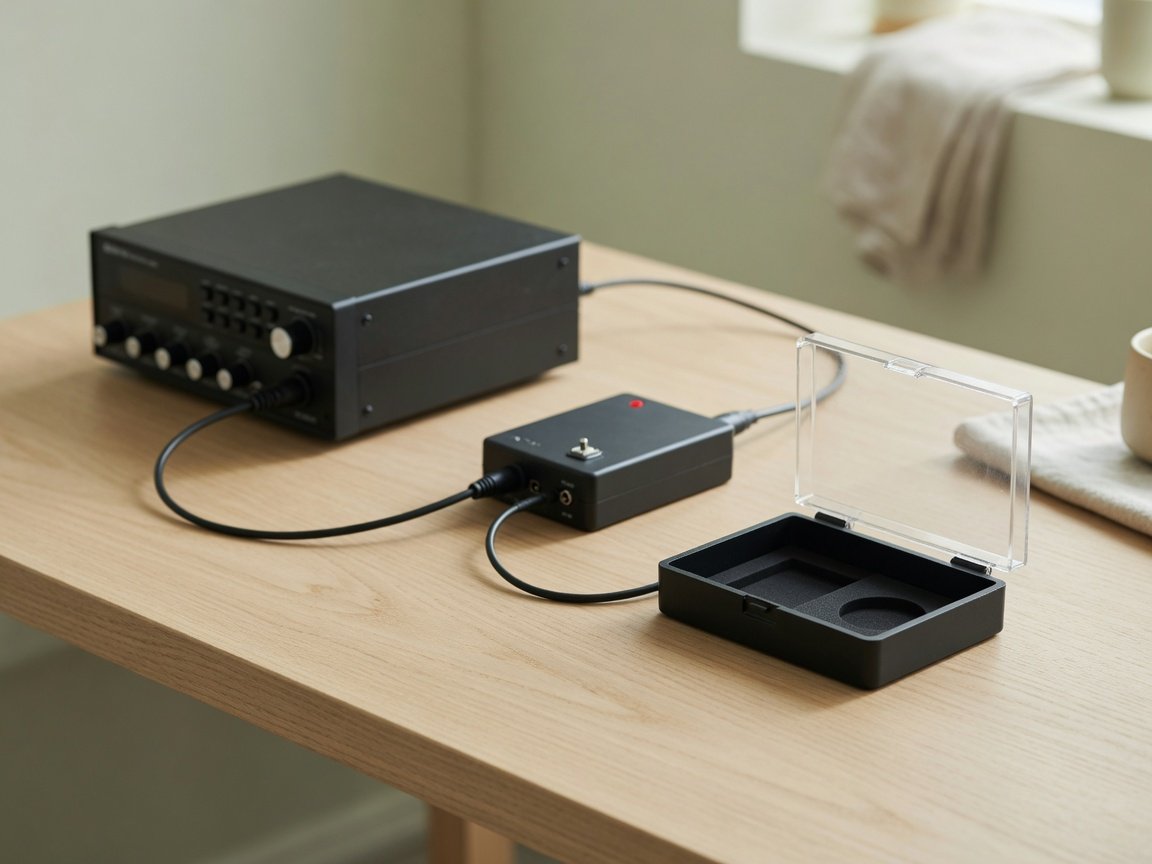
- Connect the Spooky2 Remote to the generator via the Boost unit’s BN port (follow your hardware manual for cable orientation).
- Connect the generator to your computer (USB as required by your model).
- Power on the generator and launch the Spooky2 software.
- Clear the sticker first. Pass a strong magnet over the holographic sticker several times (or rest it briefly between two magnets). This helps remove any previous imprint so you are not stacking old programmes onto new ones without intention.
- Place the cleared sticker flat in the Spooky2 Remote sample well and close the remote carefully so the carrier sits steadily for the full run.
Tip: Work on a stable surface, keep liquids away from open ports, and label stickers after imprinting so you know what you loaded weeks later.
Step 2 — Choose presets and programmes
In the Spooky2 software:
- Open the Presets tab and choose a suitable preset or shell preset for imprint work.
- A dual preset can shorten total imprinting time compared with a longer single-track approach — useful when you want a complete cycle without an all-day wait.
- If you selected an empty shell preset, switch to the Programs tab and load the programmes you actually want on this sticker. Be deliberate: fewer, well-chosen frequencies usually beat an overloaded sticker.
Many practitioners keep separate stickers for different themes (for example rest and recovery versus more pathogen-focused lists). Mixing everything into one carrier is possible, but harder to interpret when you review how you feel with each set.
Step 3 — Software options that make imprinting faster and cleaner
Still in the software, open the Programs tab and review the Options section:
- Repeat Sequence = 0 — allows the preset to loop so the run is not limited to a single incomplete pass if you need more than one cycle.
- Remove Duplicate Frequencies — tick this so the same line is not imprinted twice unnecessarily. Cleaner lists imprint faster and stay within sensible frequency counts.
- Dwell Multiplier — default is often 1 (commonly associated with about 180 seconds per frequency step in many setups). Setting 0.5 halves dwell time and speeds the cycle; some people use the shorter dwell for fast imprint practice, then re-imprint important sets with a longer dwell if they prefer a more conservative pass.
These options are the heart of the “fast” method: remove waste, keep the sequence looping correctly, and optionally shorten dwell so a full cycle finishes in a practical window.

Step 4 — Start the imprint on the Control tab
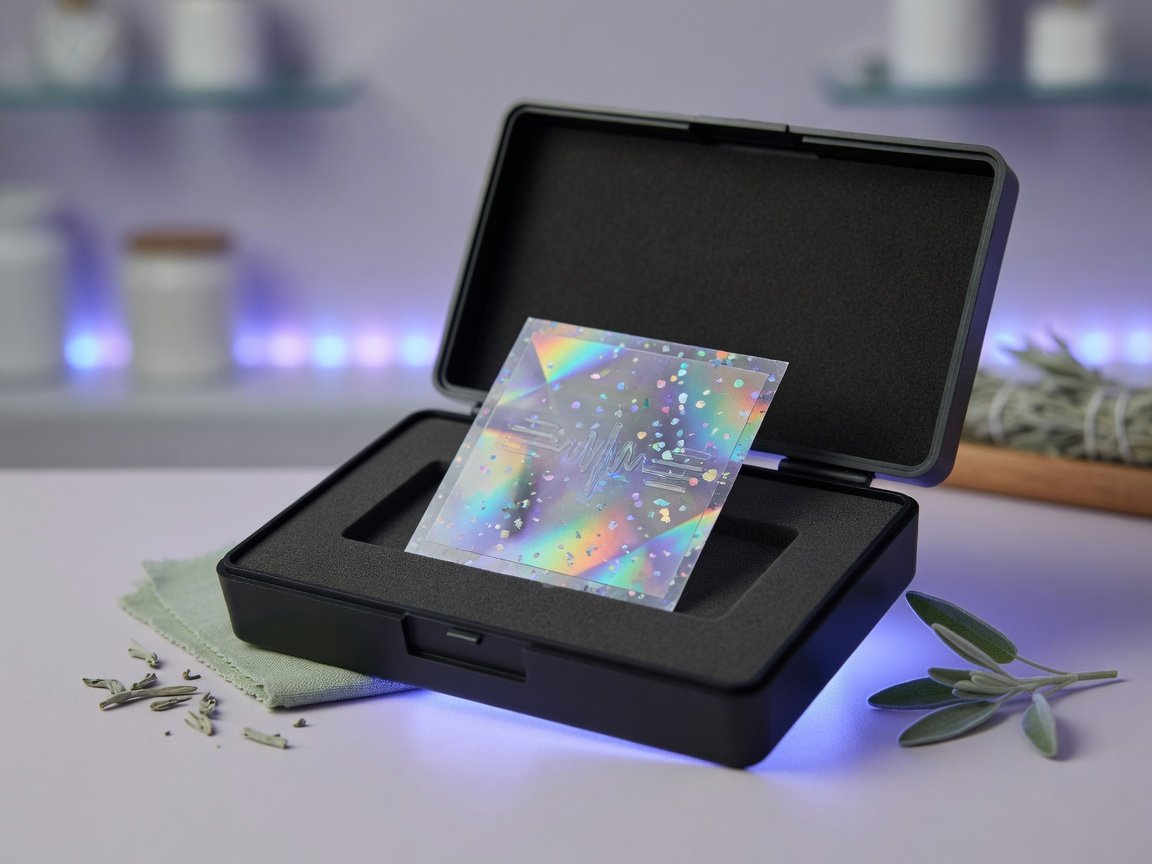
- Go to the Control tab.
- Tick Overwrite Generator so the port receives the configuration you just prepared.
- Select the correct generator port number for the hardware chain you connected.
- Click Start to begin imprinting.
- Allow the programmes to run for at least one complete cycle. Confirm that every loaded frequency has had its turn — incomplete cycles are the most common reason people feel a sticker “did nothing.”
- When the cycle (or chosen number of cycles) is finished, remove the sticker from the Remote before you stop the generator. Stopping first while the sticker is still in the well is a common mistake; the community method stresses sticker-out, then stop.
How many frequencies should one sticker hold?
More is not always better. A practical community guideline is to imprint no more than about 250 frequencies per holographic sticker. If you are running a single preset, the Steps value on the Control tab is a useful indicator of total frequency count.
If a preset is huge, split it across two stickers, or curate a shorter list for daily wear and keep denser research sets for shorter, intentional wear periods. Experiment calmly and keep notes — the “right” density can differ between people and programme themes.
Healing-style vs kill-style programmes
It is commonly recommended to imprint supportive “healing” style programmes and more aggressive “killing” style collections onto different stickers. That keeps intention clear, avoids muddling opposite themes on one carrier, and makes it easier to rotate what you wear day to day.
Storage, durability, and how to erase a sticker
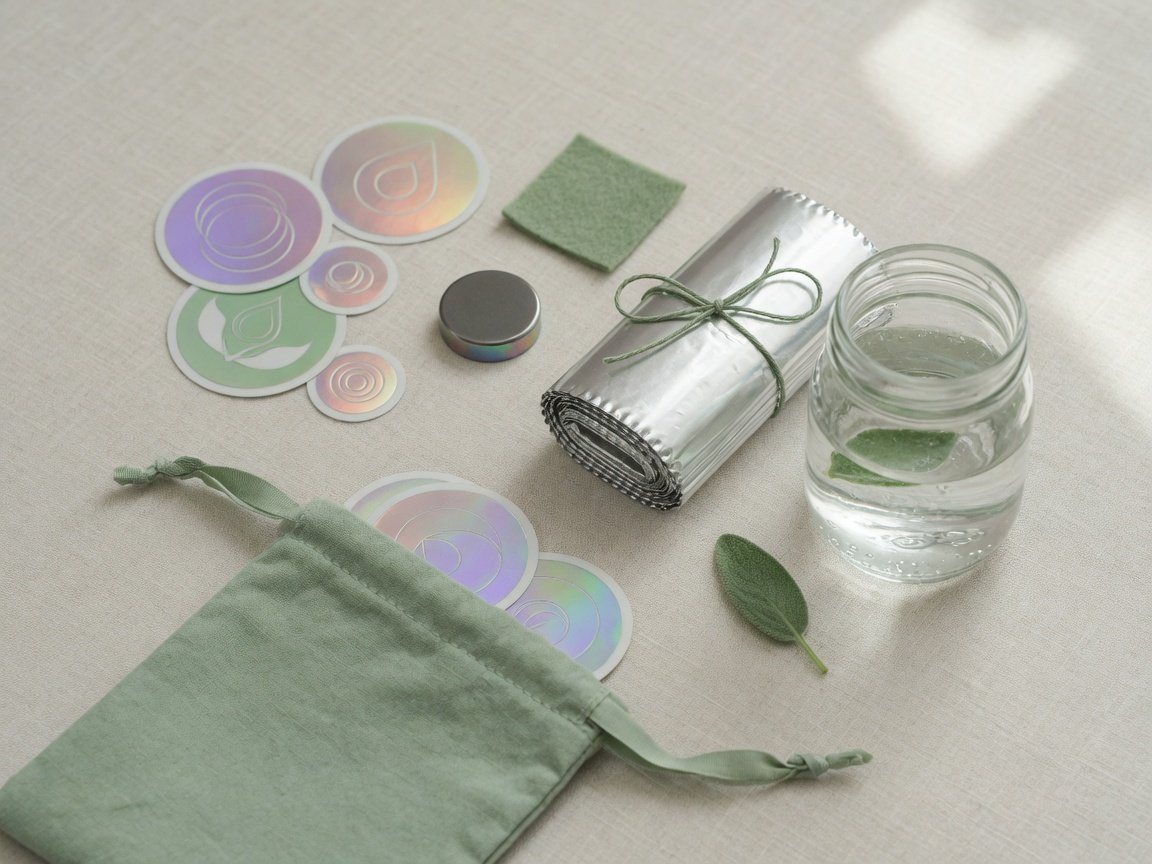
Imprinted stickers can weaken or clear if exposed to:
- Heat and direct sunlight
- Strong magnets and strong EMF
- X-ray and similar high-energy environments (for example some security scanners)
- Close proximity to Plasma or Scalar fields during storage
- Stacking different stickers together without protection
Storage ideas: keep stickers cool and dry; wrap individuals in tin foil if you need to separate them; use a small pouch or tin so they do not sit against phones, magnetic clasps, or other stickers.
To erase and reuse: swipe a strong magnet over the sticker several times, or leave it briefly between two magnets. Then treat it as blank and run a fresh imprint from Step 1.
Common mistakes (and easy fixes)
- Forgot to magnet-clear — old imprint may still be present; clear, then imprint again.
- Wrong port / Overwrite Generator not ticked — software never fully takes the generator; double-check Control tab.
- Stopped the generator before removing the sticker — reverse the order next time: sticker out, then stop.
- Overloaded the sticker — trim the list under ~250 steps or split across two stickers.
- Stored next to a magnet or phone case with magnetic plates — move storage and re-imprint if needed.
- Expected medical outcomes from a sticker alone — imprinting is complementary wellness technique support, not a medical treatment plan.
How this fits with practitioner sessions at JKB Healing
At JKB Healing we work with professional frequency equipment — including the Spooky2 Central Plasma platform for in-clinic Advanced Frequency Healing. Remote and imprint techniques sit in the wider Spooky2 ecosystem that many clients explore at home.
If you are new to frequency work, a structured starting point is often:
- Remote nail analysis or a full bioresonance scan to map priorities
- A practitioner-led Advanced Frequency Healing session using Plasma, Contact, PEMF and Ultrasonic as appropriate
- Clear home routines only where they fit your plan — including imprint stickers if you already own Spooky2 remote hardware
We do not sell Spooky2 kits from this site; we provide complementary sessions and education. Always follow official Spooky2 documentation for your exact hardware revision, and seek medical advice for any health concern.
Quick checklist
- ☐ Generator ↔ Boost (BN) ↔ Remote connected; software open
- ☐ Sticker magnet-cleared and seated in the remote well
- ☐ Preset / programmes loaded; duplicates removed; Repeat Sequence set for looping
- ☐ Dwell multiplier chosen (1 or 0.5 for a faster pass)
- ☐ Control tab: Overwrite Generator + correct port + Start
- ☐ At least one full cycle completed
- ☐ Sticker removed before stopping the generator
- ☐ Sticker labelled and stored away from magnets, heat, and stacked fields
Important wellbeing notice
Frequency imprinting and Spooky2 equipment use are complementary wellness practices. They are not intended to diagnose, treat, cure, or prevent disease. Do not delay or replace care from your GP or other qualified healthcare professionals. Programme choice and hardware settings remain your responsibility (or your practitioner’s) — always cross-check against current Spooky2 manuals and software help for your device version.
Ready for practitioner-led support? Book an Advanced Frequency Healing session or explore a bioresonance scan first.